Blog

  • k8s, WooCommerce, and Tokenizers (🦁🐯🐻, Oh My!)

    🚀 Stage 1

    • Decide I need my own infrastructure to move faster.
      • It’s cloud-ish, but affordable.
    • Spin up a load balanced k8s cluster.
    • Spin up my wife’s website oriandficlay.com, she sells lightweight, handmade, customizable, and pretty durable polymer clay jewelry. 💍👂🏻
    • Spin up my blog, that you are reading right now.
    • Get distracted over something to else to do, set up some other sites that I’m just not ready to work on right now.

    ✌️Stage 2

    • Get really involved trying to help my wife make her site and socials all work.
    • Rant about WordPress, even though I chose it.
      • I miss Magento, but WooCommerce works great for my wife.
    • Stare at screen over complete loss of how to perceive LLMs.
      • I had a very bad experience using an LLM to write Rust. 😱

    🐣 Stage 3

    • Vibe code the bulk of a multi-platform mobile-first application, transform someone else’s vision into something bigger.
      • Made it to Build 302, I think ~200 actual releases, maybe ~150 functional releases.
      • This 💺and this 💆‍♂️💺 are how I get through it.
      • This ⚠️💆‍♂️💺🚽 also helps.
      • Take a step back.
    • Make some vinyl cuts, did a bunch of ✂️ hand weeding vinyl, like this but with a dental pick 🦷
      • Yep, I even did QR codes. Quite a few. 💤
      • …But those are the best darn QR codes I tell ya hwat. 🤠
    • Buy some sunglasses with OLED screens in them.
    • Begin staring at GPUs at my local Micro Center for days on end.
    • To be continued…
  • No Current

    The battle to revitalize my old printer continues.

    In the past number of days:

    • Burned out a 24v step-up converter.
    • Calibrated kinematics (steppers, microsteps, current, voltage, etc)
    • Found the TMC2240 produce excess heat at 36v, lowered to 28v.
    • Burned out a 20A fuse.
    • Calibrated a PT100 to “work” with an amplifier, had to mess with voltages a lot to get decent readings.
    • Overpowered my 350W power supply at full heating load.
    • Crimped, spliced, cut, etc MANY wires.

    I had some printing working for PA-CF at 280C (70C bed) but continued to have warping issues and blew a fuse trying to get to 85c for the bed. Overall it’s been a huge challenge printing such a material with a 0.4mm nozzle on a glass bed.

    After some thermals stopped reading, I checked the bed heater output and found there was no current due to a blown fuse. So now I have fuses on order along with a stronger MOSFET module to manage the bed heating.

  • SPI’ing Resonance

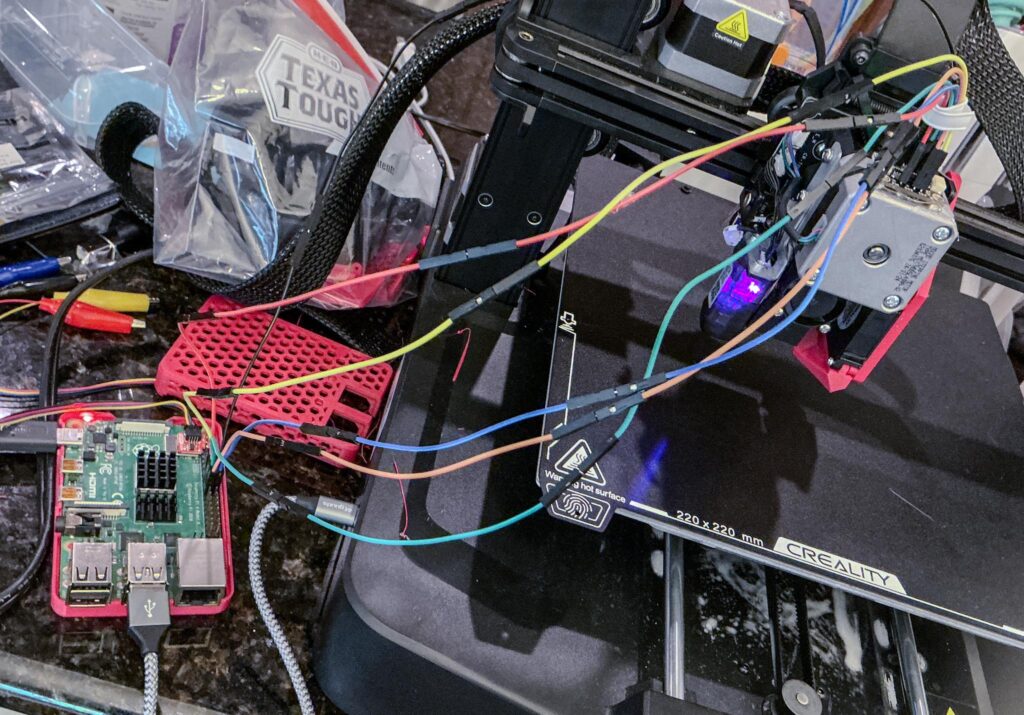
    My cables arrived yesterday and I tried connecting the ADXL345 accelerometer to my wife’s 3D printer for resonance calibrations, unfortunately I quickly found that QWIIC only supports I2C connections and Klipper only supports SPI communication for this particular accelerometer.

    Fortunately, I found I can use the breakout pins on the accelerometer to connect SPI. To avoiding soldering, I bent breadboard connectors in the breakout holes.

    ADXL345 connected over long wires to a Raspberry Pi

    It’s not ideal, but it’s temporary.

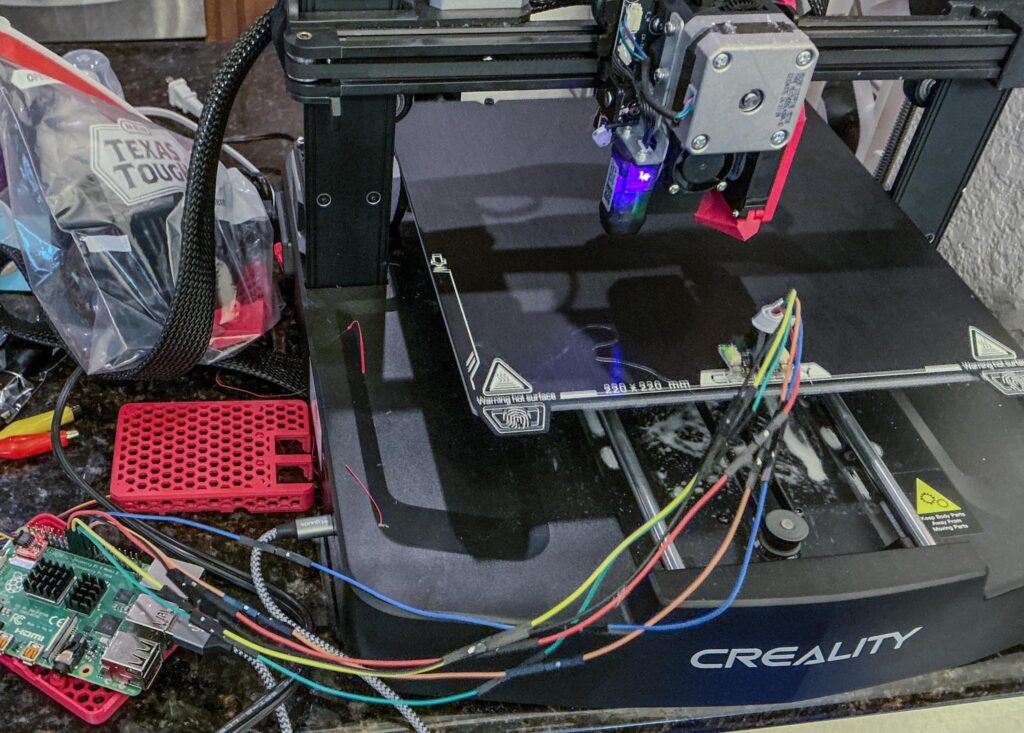
    I used this setup to run a calibration process on the X-axis, then mounted the accelerometer to the bed to measure the Y-axis.

    I mounted the accelerometer towards the front of the bed to avoid being hit by the print head.

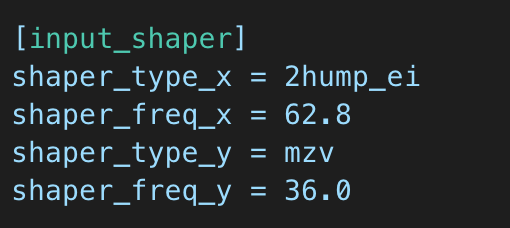
    The final results, saved to printer.cfg

    In the end, this wasn’t nearly as exciting as I thought it would be. The resonations on the X-axis were very quiet and the Y-axis wasn’t much louder than typical printing noises. I could say I was a bit disappointed to not encounter the same intensity as some others. I noticed some new defects in the prints, so I’m eager to retry this calibration with the ICM-20948 (which I plan to have permanently mounted within my old printer rebuild).

  • Making It Stick, Balancing Efforts

    Yesterday, I took a break from 3D escapades and refocused on getting traffic to my wife’s website. This included updating content and working through some issues with meta tags and setting up Buffer to manage socials.

    In the middle of my efforts, it sunk in that getting tractIon on this one website will make time, I took a pause to think through how I want to go about making the most of my efforts.

    I’m going to continue with the approach of building in parallel and take steps to avoid falling for pitfalls of singular thinking. Overall, this will be a challenge to balance efforts and energy levels, but I think it should pay off.

    What next? Maybe register an LLC and/or clear out my storage unit.

  • Monday Rush

    Today, I went to one of my local electronics stores to pick up equipment and stare at 3D printers. Ultimately, I picked up a ADXL345 accelerometer to calibrate my wife’s printer resonance and decided it’s should still be worth rebuilding my decade old 3D printer.

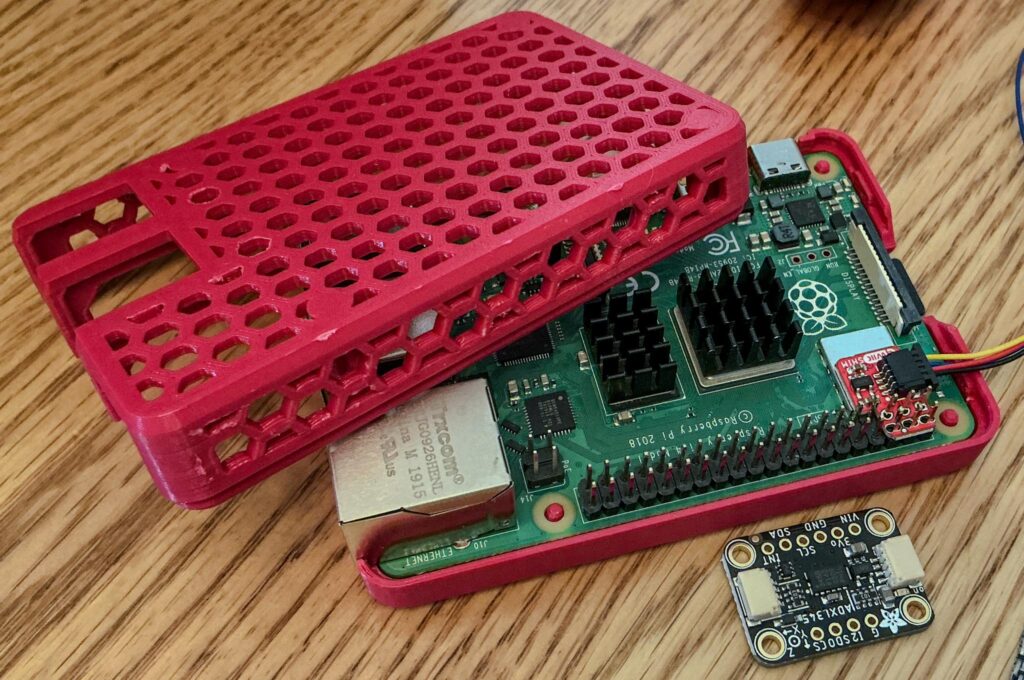
    Raspberry Pi 4 with a 3D printed snap case, QWIIC Pi Shim, and Adafruit ADXL345.

    My QWIIC cables arrive tomorrow. 😊

    I probably spent well over half an hour looking (and possibly touching 🤫) their machines to see how tight tolerances were for different prices and tiers. I was a bit disappointed with some of the mid tier machines as their print heads were less tight on the Y axis, but I’d imagine that wouldn’t matter much if the print heads are well balanced in vertical weight.

    I have a number of orders both arrived and am waiting on. I ordered a new board and extrusion parts for my (very outdated) 3D printer. My plan is to convert it from a 2.85mm (aka 3mm) bowden into a 1.75mm direct drive. I’ve had a lot of mixed thoughts on this, because I sourced a tight tolerance bowden many years ago and I like the weight reduction, but direct drive is more capable and standardized. The entire process will be nearly a rebuild, using the old chassis and motors.

    • My Galileo 2 extruder kit arrived, but I need to replace my main board to print in ASA. (I won’t risk melting my wife’s machine for this)
    • My Pi 5 CM arrived to power my new main board.
    • I’m waiting on an ICM-20948, Manta M8P V2.0, TMC2240 drivers, and a Mosquito hotend.

    This is going to be a very involved rebuild, I’m looking forward to it!

  • Lazy Sunday

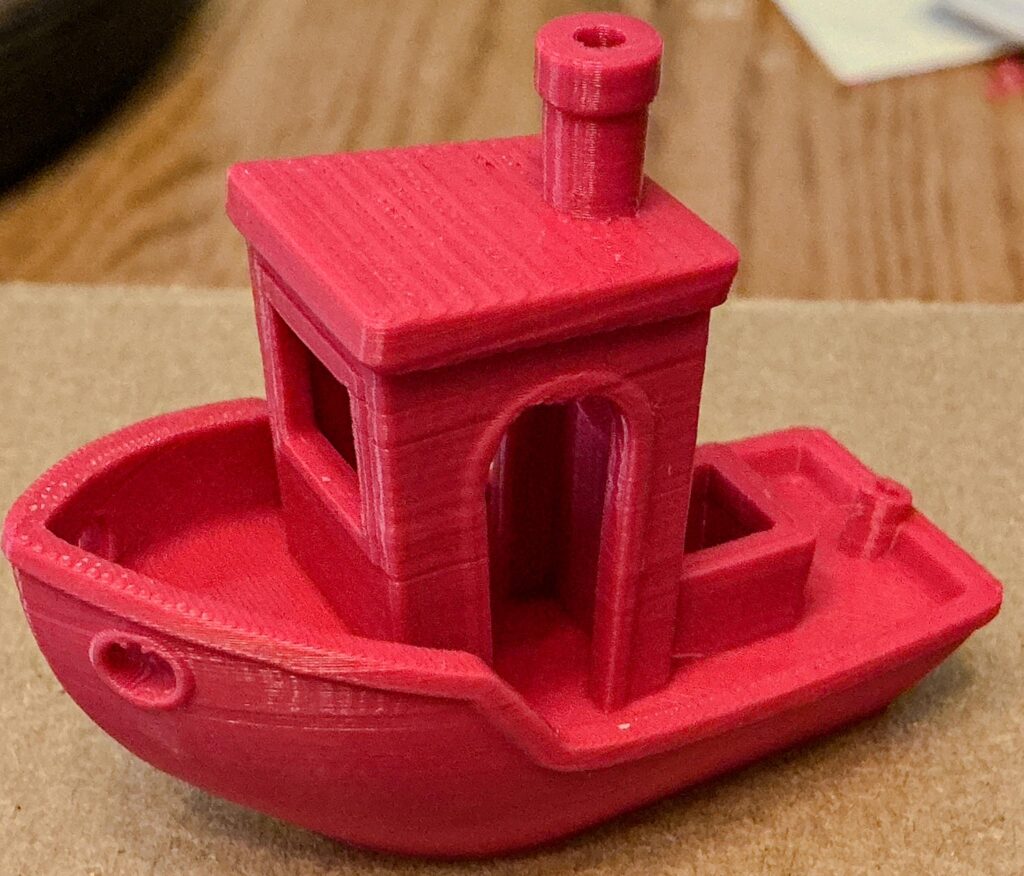
    I’m spending much of the day testing higher quality Benchy 3D prints, trying to dial in my wife’s printer.

    3DBenchy printed with 0.15mm layer height, ~50min print.

    The angle of lighting photo amplifies the layer lines, the print is very good overall.

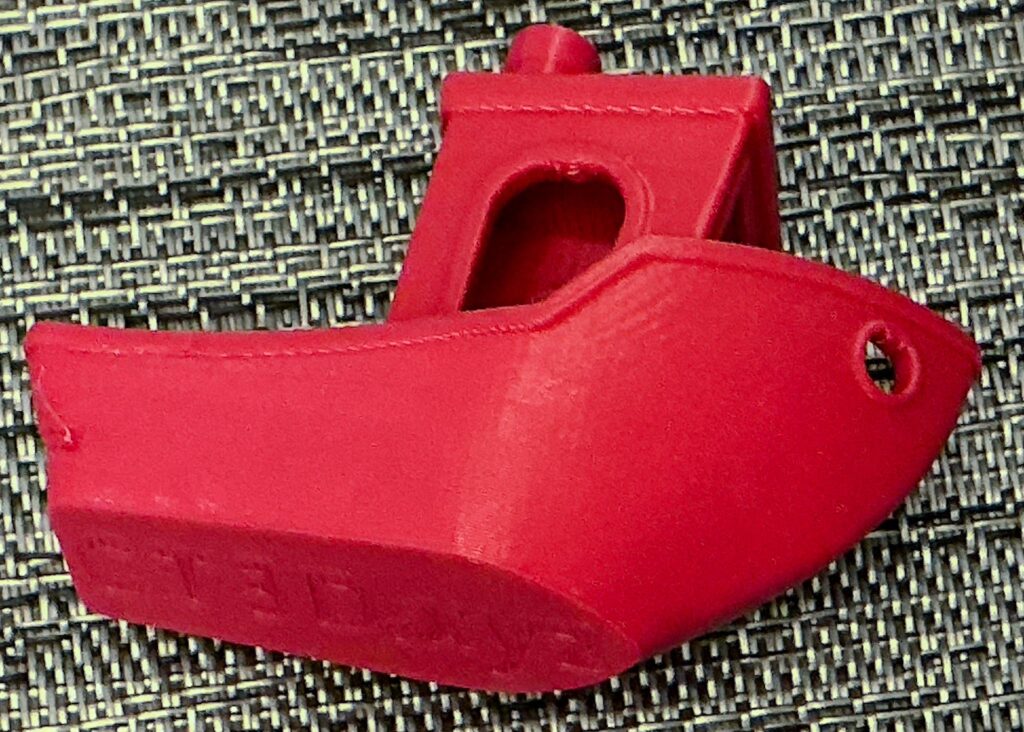
    I’m not sure how to proceed with tuning, this may be a case of reaching the upper limits of this printer.

    A much clearer photo of the same print, without the shadow emphasis the print looks great.

    The biggest outstanding defects are slight over-extrusion at seams and some odd pressuring at the right backside of the Benchy.

    I tried removing my input shaping, reducing retraction, and reducing pressure advance. The changes degraded the print quality before running out of the filament spool.

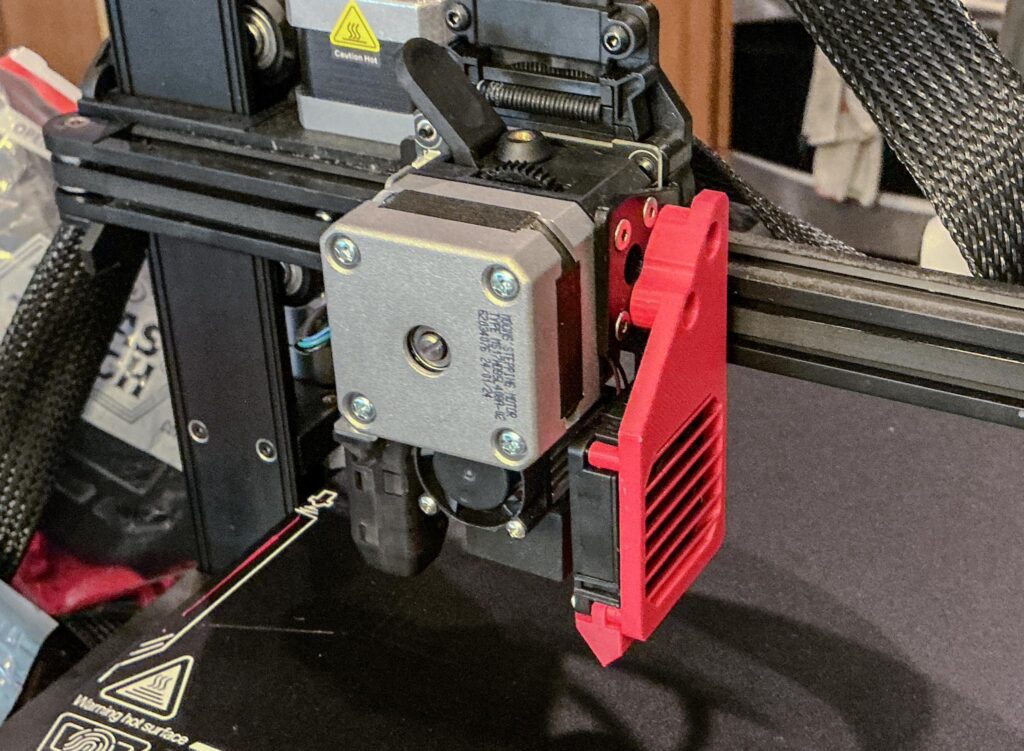
    My wife’s 3D printer with a fan shroud replacement for better airflow.

    I found this particular shroud and duct to be very light and have good air direction.

    As I get this more dialed in, I plan on releasing my configurations for Klipper and Mainsail.

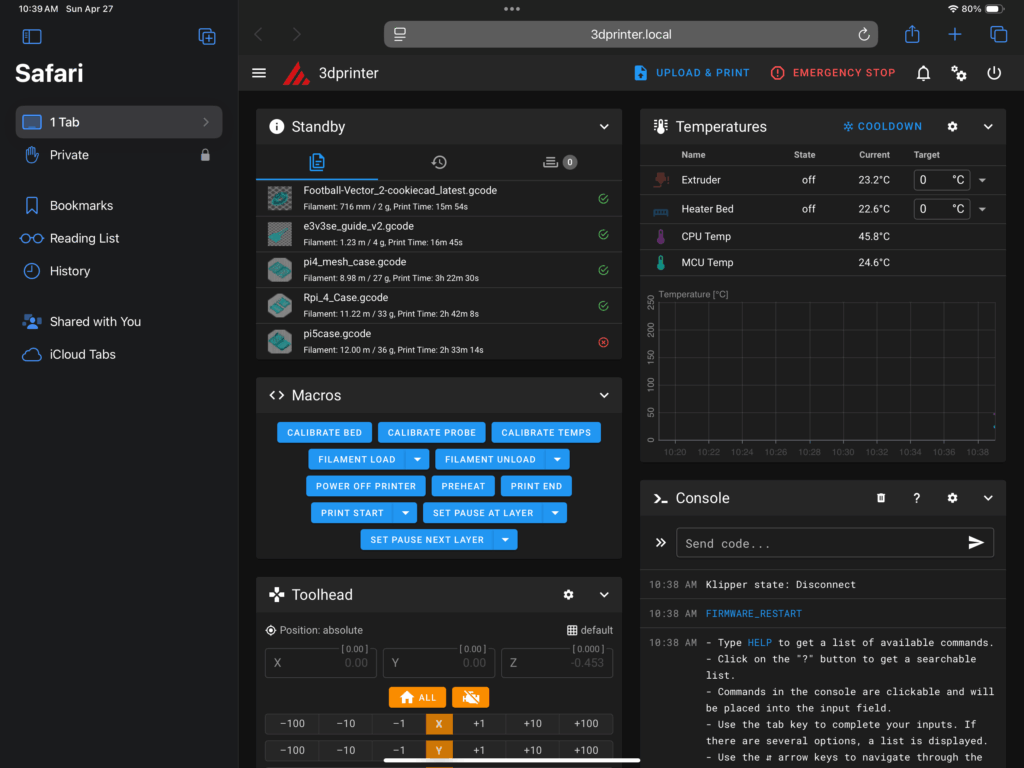
    It’s nice being able to check on my print via my iPad.

    I have a number of a macros designed to make printer operations easier.

  • So Many Projects

    It’s late, but I accomplished a lot and I really want to get my first post down.

    Things I want to catalog:

    • The latest in the cheap and enthusiast 3D printer market.
      • My quest to get “good” prints from the cheapest printer I could buy locally.
      • A rework of my smallest 3D printer that was out of operation.
      • A rebuild of my old 3D printer with enthusiast DIY parts.
    • Launching my wife’s website.
      • Ramping up on Kubernetes and launching fast.
      • Catching up on digital imaging.
      • THE IPAD PRO OLED DISPLAY IS SO GOOD!
      • Launching more!
    • Grafting an apple tree.
    • …and so much more.

    ’til tomorrow